Map Overview
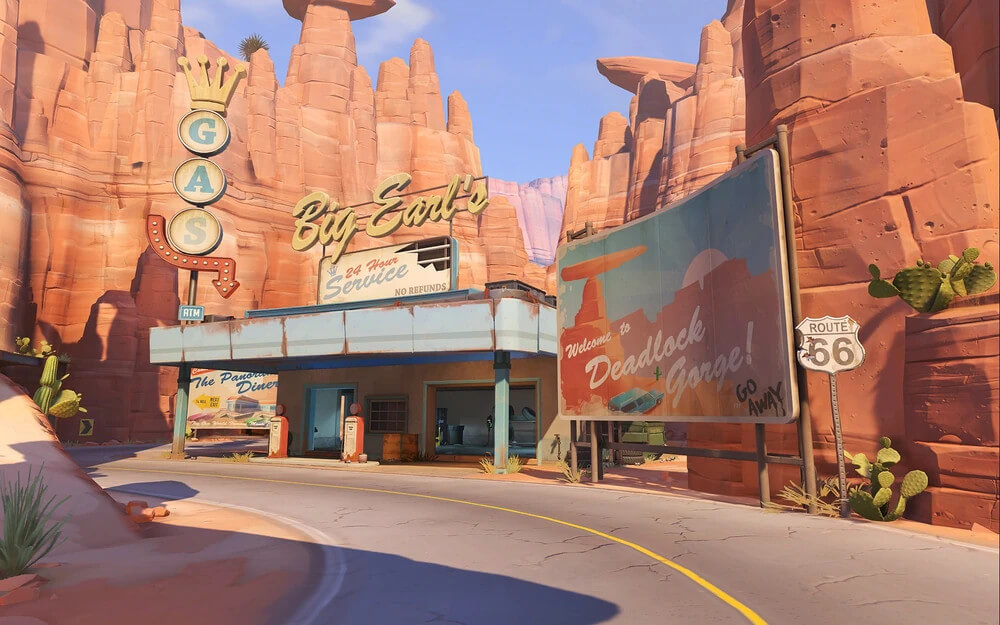
Route 66 takes teams to a classic American highway setting, with the payload rolling past a gas station, through a motel, under a tunnel, and across to the final train car.
The map is perhaps the most straightforward escort map in the game, but its simplicity hides significant depth in how positions and rotations play out.
The three phases cover the gas station approach, the motel and diner mid-section, and the open train finale.
Route 66 is heavily affected by Bastion and Symmetra defensive setups, making utility ultimates extremely valuable for breaking through the chokepoints.
Attack Strategy
Immediately push for the gas station roof on the right — this position controls the first section completely and prevents early sniper dominance.
Use the underground garage passage beneath the gas station to send a flanker while the barrier pushes the main road.
At the motel, enter through the back parking lot to attack from behind instead of the front entrance.
The tunnel creates the map's tightest section — use Graviton Surge or Earthshatter to clear it before pushing.
In the final train section, approach from the right cliff path to avoid walking directly into the defensive position.
Defense Strategy
Defenders should hold the gas station overhang on the left rather than standing in the open.
A Bastion turret setup behind the fuel tanks with a Sigma barrier is the classic opening defence.
After ceding the first checkpoint, rotate immediately to the diner rooftop for the map's best mid-section defensive position.
For the tunnel approach, hold just inside the tunnel entrance where your angles are superior.
In the final section, defenders should spread across both the main road and the cliff path to prevent easy flanking.
Key Positions & High Ground
Gas Station Roof: Accessed from the gas pump island, this elevated position overlooks the entire first section with commanding sightlines.
Diner Rooftop: The highest point of the mid-section, reached by jumping through the diner's upper window, provides a dominant defensive perch.
Tunnel Interior: The narrow tunnel connecting mid-section to finale is critical — whoever controls the inside of the tunnel controls the map's flow.
Train Car High Ground: In the final section, jumping onto the train car rooftops provides superior angles over the delivery area.
Chokepoints to Control
The diner entrance creates the first real chokepoint — defenders can hold both the main entrance and the side door simultaneously.
Clear the diner rooftop before pushing, or attackers will continue taking casualties from above.
The tunnel is the most famous chokepoint on Route 66 — a Bastion or Symmetra turret inside the tunnel stops most teams cold.
Use Graviton Surge or Earthshatter to clear it, or flank through the upper cliff path to bypass.
Ultimate Usage Tips
Tactical Visor at the tunnel entrance clears the entire defensive setup instantly.
Graviton Surge into the tunnel followed by Dragonstrike is the classic combination for this chokepoint.
On defence, Blizzard at the tunnel entrance completely stops any push when time is low.
Self-Destruct through the tunnel bouncing around the confined space is extremely lethal.
Common Mistakes to Avoid
Teams push straight into the diner entrance without clearing the rooftop sniper first, suffering repeated losses.
The diner rooftop must be contested before any ground-floor push has a chance of succeeding.
Defenders abandon their positions when the payload is just past the first checkpoint instead of regrouping at the diner — never give up the diner before the payload reaches the second checkpoint.
Attackers walk into the tunnel one at a time instead of coordinating a simultaneous entry with barriers.
Ready to master Route 66?
Check out our curated hero recommendations to complete your preparation for Route 66.
View Best Heroes