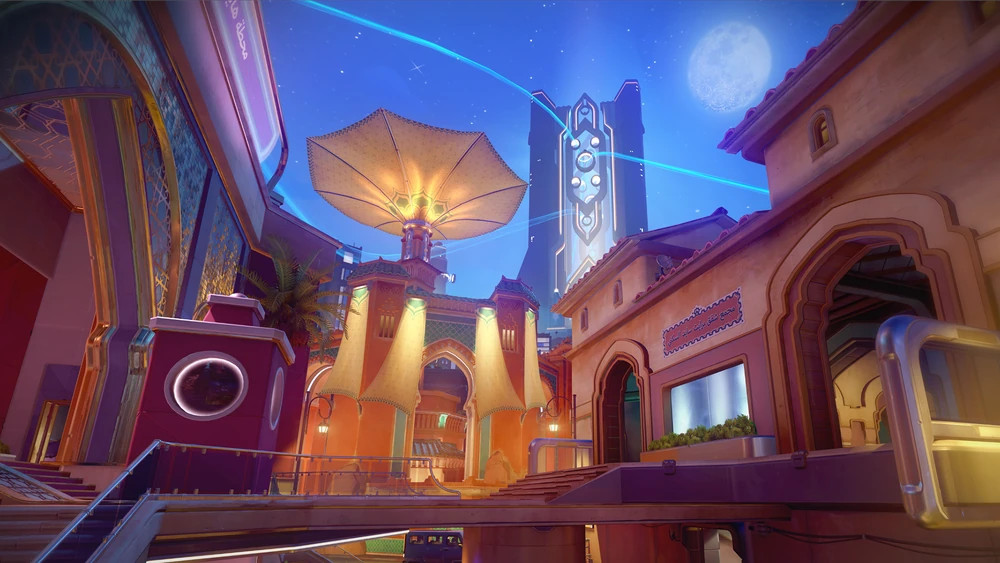
Map Overview
Aatlis is a clash map set in a North African archaeological site, where two teams fight to capture five sequential objectives rather than a single persistent one.
In clash mode, teams alternate between attacking and defending a series of objectives that activate one at a time across the map.
Winning requires capturing more objectives than the enemy team.
Aatlis features ancient ruins, outdoor plazas, and elevated excavation platforms throughout.
The sequential capture format requires teams to constantly rotate between objectives as they shift across the map.
Attack Strategy
Reach each clash objective before the enemy team and establish your tank as an anchor.
Kiriko's Swift Step enables instant rotation to the new objective location.
On interior objective positions, hold the doorway approach and fire inward rather than standing in the open objective centre.
On exterior objectives, establish the elevated platform nearest to the capture zone.
Bank Kitsune Rush for the final objective capture when the match is close.
Defense Strategy
When defending a clash objective, hold the approach corridor rather than the objective itself — your angles into the approach are superior.
Never stand on the objective during defence; force attackers to come through your fire.
If you lose an objective, immediately rotate to the next one's position.
Moira's Coalescence through the objective area during a contested capture is extremely powerful.
Key Positions & High Ground
North Ruin Elevated Ledge: A raised stone ledge near the northern objectives that overlooks the capture area.
Central Plaza Balcony: An elevated walkway in the central plaza section with commanding angles over the middle objectives.
Excavation Platform: A raised excavation area near the southern objectives that provides height advantage during those captures.
Corridor Approach: Narrow passages leading to interior objectives where defenders can control approach angles.
Chokepoints to Control
Each clash objective creates its own chokepoint at the approach corridors — teams that hold these approach angles win the capture fights.
The central plaza objective has the most open approach, making it the hardest to defend and easiest to capture.
Interior objectives in the ruin sections have tight doorway chokepoints that defenders can hold indefinitely without ultimates.
Ultimate Usage Tips
Kiriko Kitsune Rush at any objective capture accelerates the fight decisively.
Moira Coalescence through an objective doorway during a contested capture clears defenders instantly.
Cassidy's Deadeye sweeping across an open exterior objective eliminates multiple defenders.
Earthshatter through any interior objective doorway catches all defenders in the chokepoint simultaneously.
Common Mistakes to Avoid
Teams fight in the open areas between clash objectives instead of positioning at the next objective location — rotate immediately when an objective is resolved.
Standing on the objective itself during defence instead of the approach corridor, losing positional advantage.
Not adapting composition for different objective positions — interior vs.
exterior objectives require different hero choices.
Ready to master Aatlis?
Check out our curated hero recommendations to complete your preparation for Aatlis.
View Best Heroes